I have two workstations. Inside I have a painting center where all of the painting occurs. Out in the garage I have the Workshop where I melt metal and pour models. Below is a list of the things that make up my garage workshop.
Workshop
My workshop equipment is an eclectic collection of kitchen castoffs and Laboratory leftovers. While I did not intentionally build up my workshop on the cheap, it does prove that you don't need a ton of cash to get started in the hobby! Probably the most expensive item in the workshop is the Hot Plate.
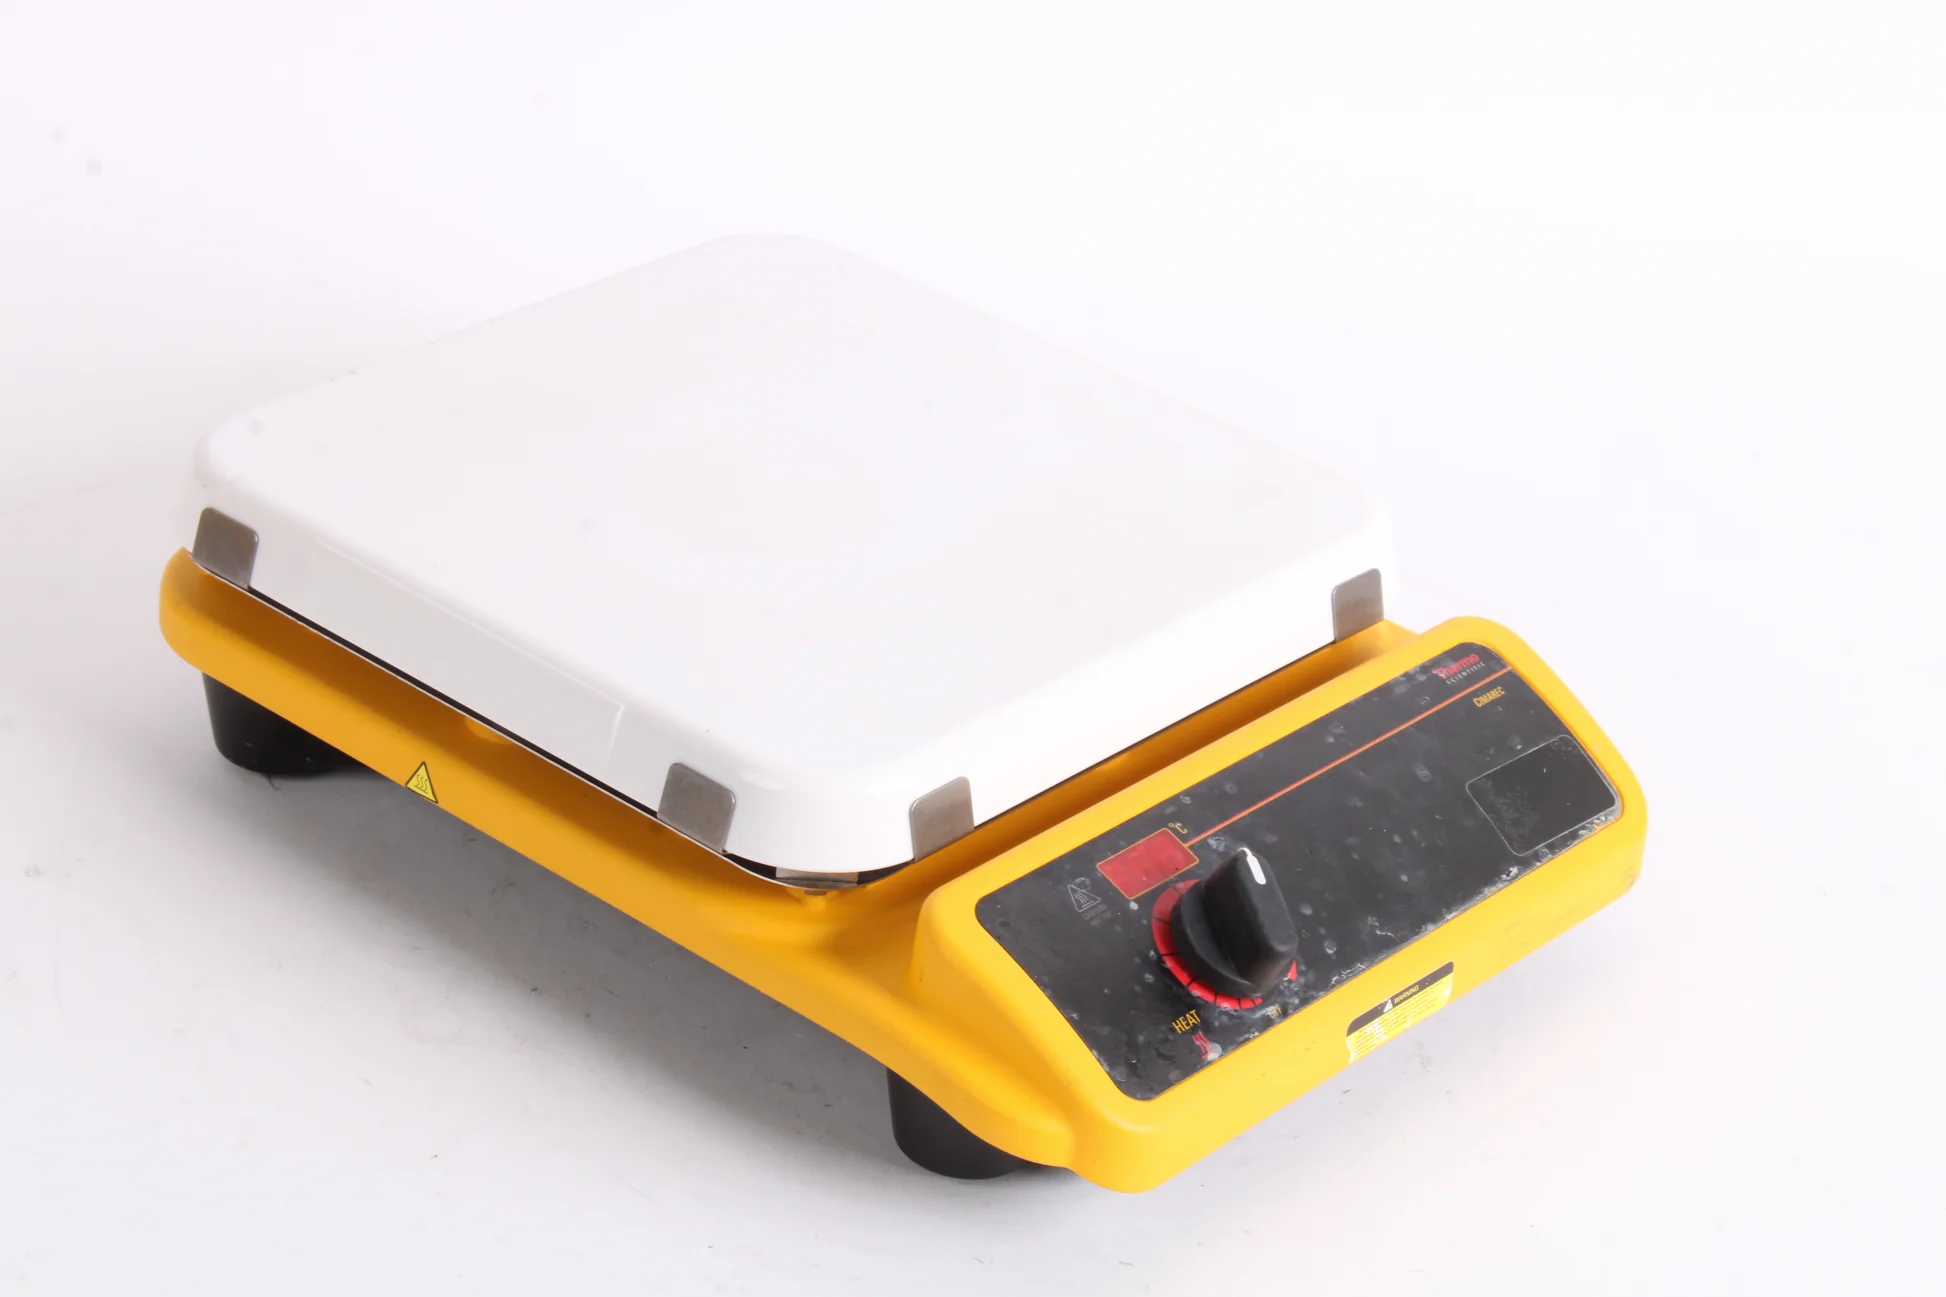
Hot Plate Image This is probably the single most expensive item in my workshop. While there are numerous "hot Pots" designed to melt metal, I bought a used Thermo Scientific Cimarec HP131535 Digital Hot Plate years ago and am still using it. It has a ceramic top and heats up to 1000f. I use it not only to melt metal when I pour moulds but also when I am mixing my metal recipie.
Crucible/Pan Really just a 1 qt stove top pan that I melt about 2000g of metal at a time to make my Old Man Mixture.
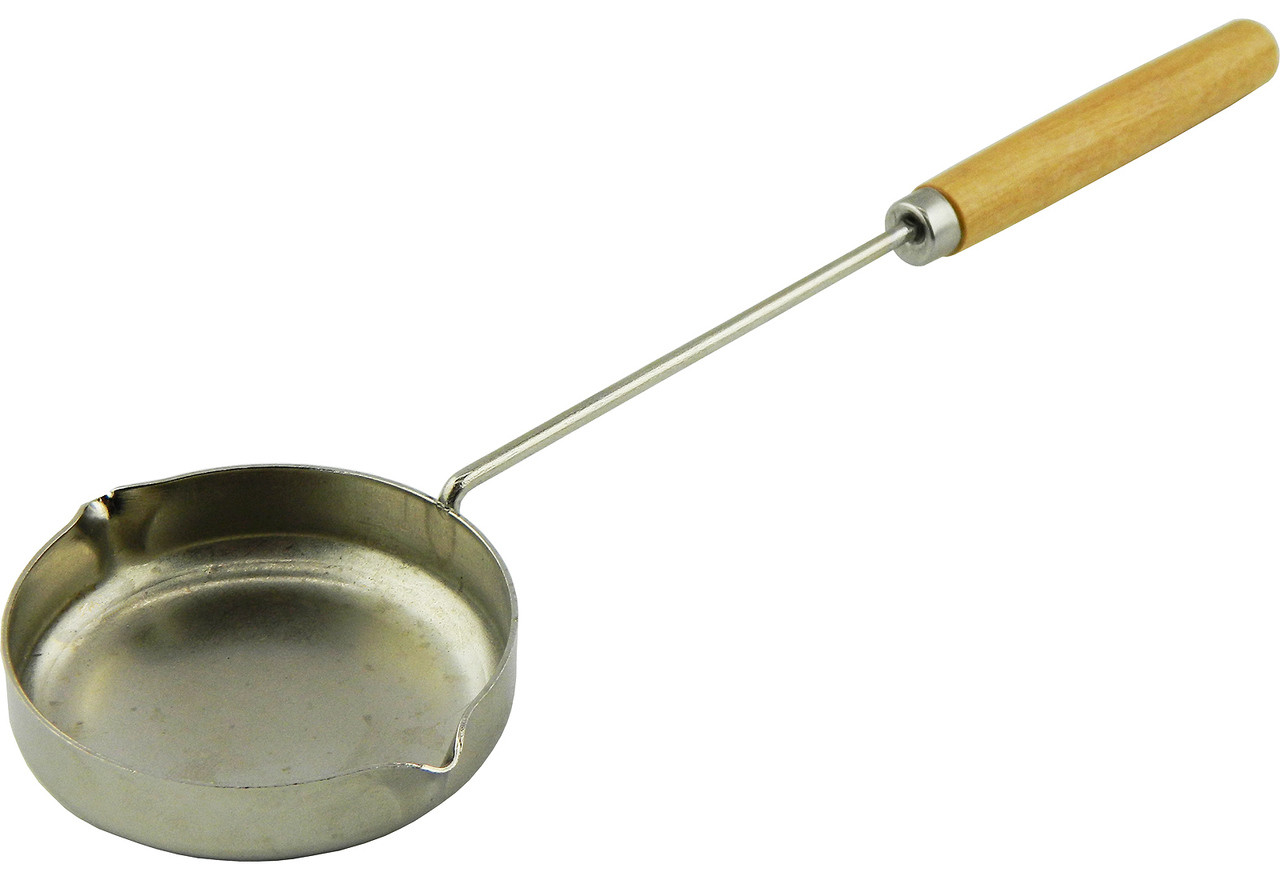
Ladle Image I actually have 3 ladles. That way I always have metal hot enough and ready to pour. One ladle has hot metal, one ladle has metal heating and the third ladle is usually one I have just used and is empty so I put the failed castings etc in it to begin the remelt process. The ladle I use is from Prince August. I know you can get larger ladles, but this size seems to work the best for me.
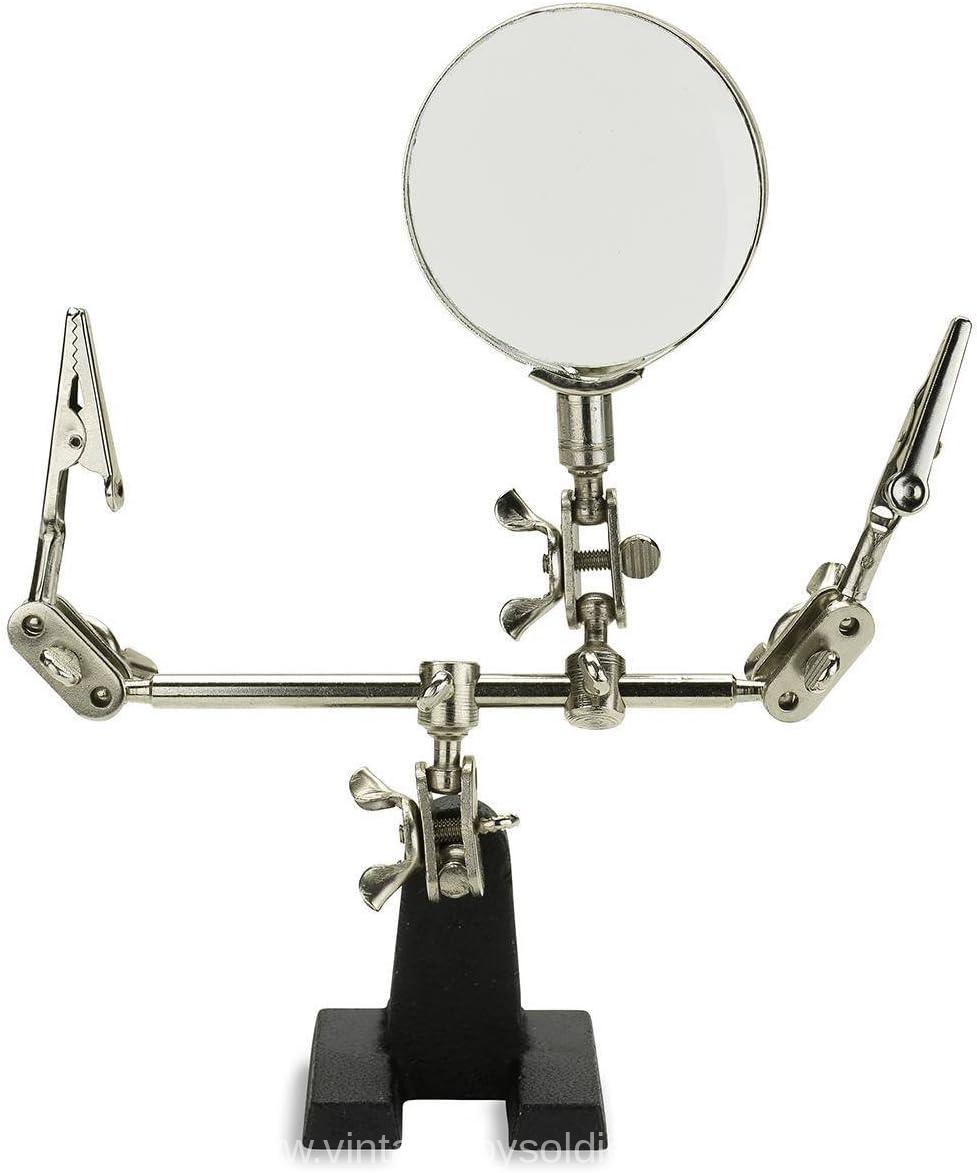
Ladle Brace Image I use this support the ladles while they are on the hot plate. Last thing I need is liquid metal running all over the workbench when a ladle tips over. Note: I removed the magnifier to allow the ladle handles to sit better. i just lay the handles on top of the clips I do not use the clips to hold the handles.
Station (12" square tile) - Any granite 12" square tile will do.
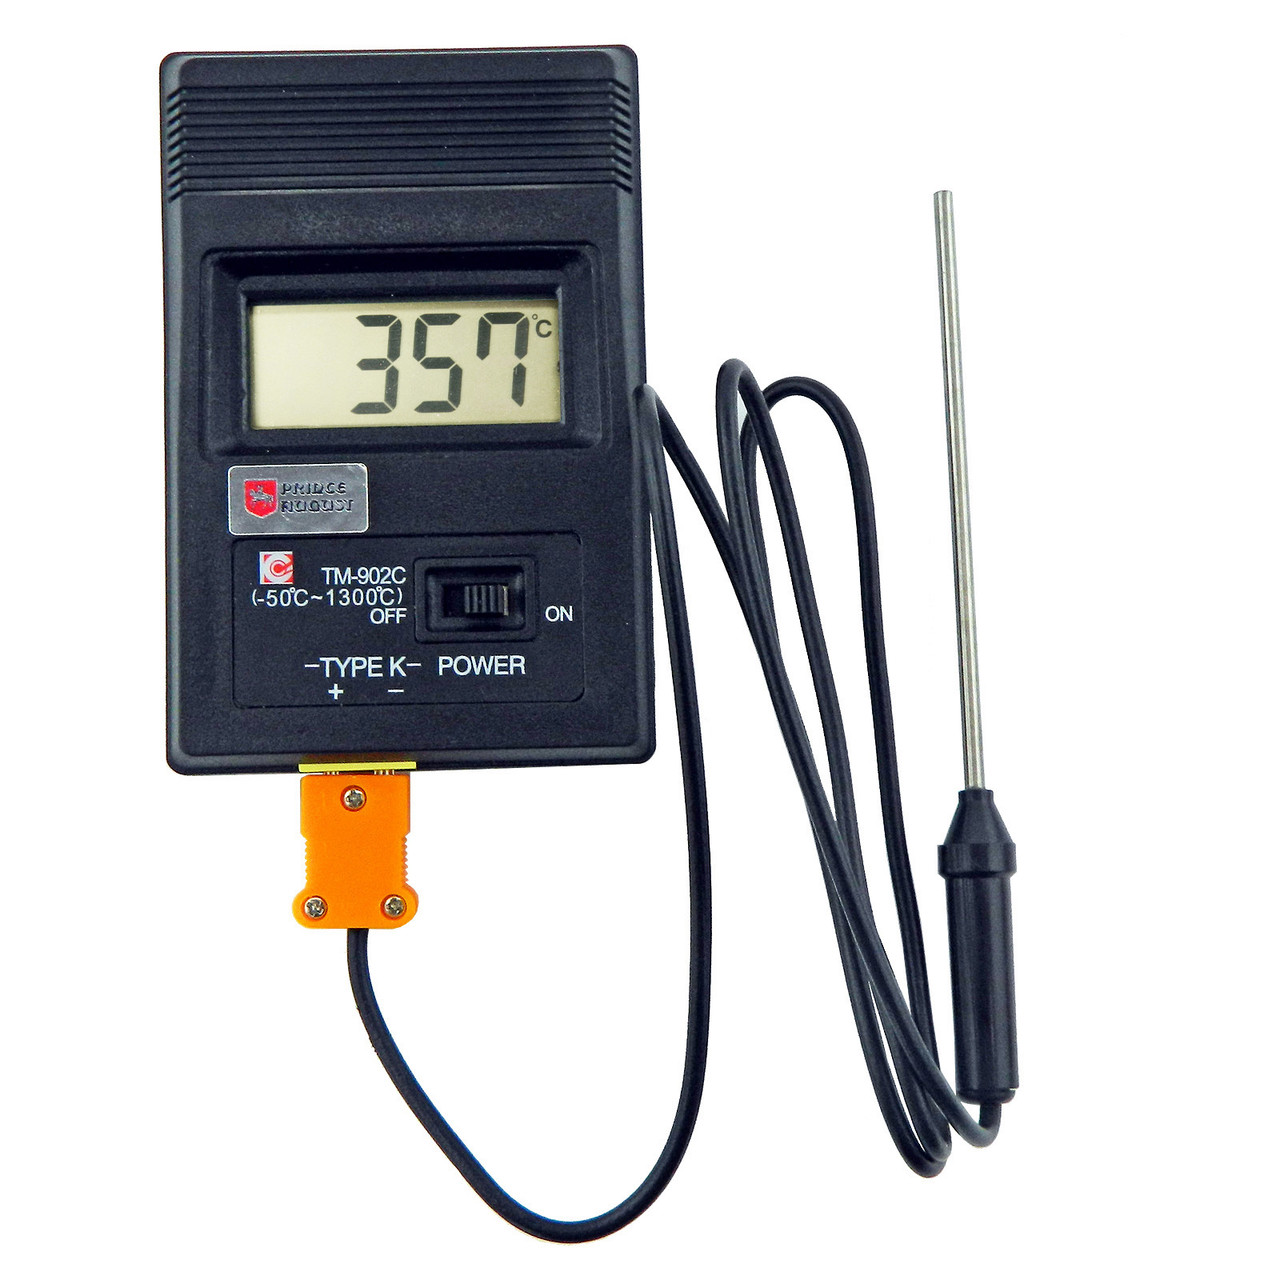
Thermometer Image The Thermometer I use is an old school analog one with a 4" stem and a spring bar handle that I hold on to. The newer version is the image. This thermometer is available from Prince August. Basically you need a thermometer that goes up to about 750-800f. Most of the metal you melt will need to be around 600f to insure your pours are successful.
Scale My scale only goes to 400g so I make due but it would be nice if it were a 1000g scale.
Tupperware containers I use these to hold the raw metals as well as completed pigs and the dross I scrape off from the pours.
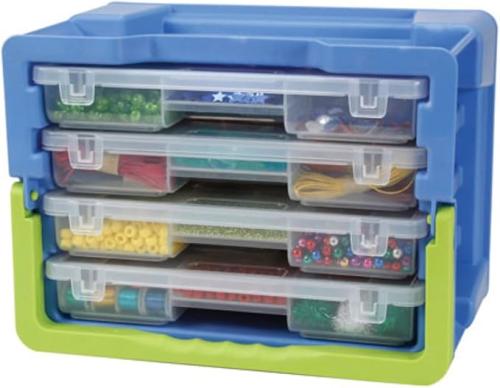
Storage Caddy Image As you start to build up a collection of poured models you may want to store them prior to actually painting them. I tend to pour several of the same model at a time once I get the workshop set up to pour metal. This caddy is nice becuse I can pull the whole drawer out, lift the lid and see everything in the drawer at once. The spaces are also adjustable.
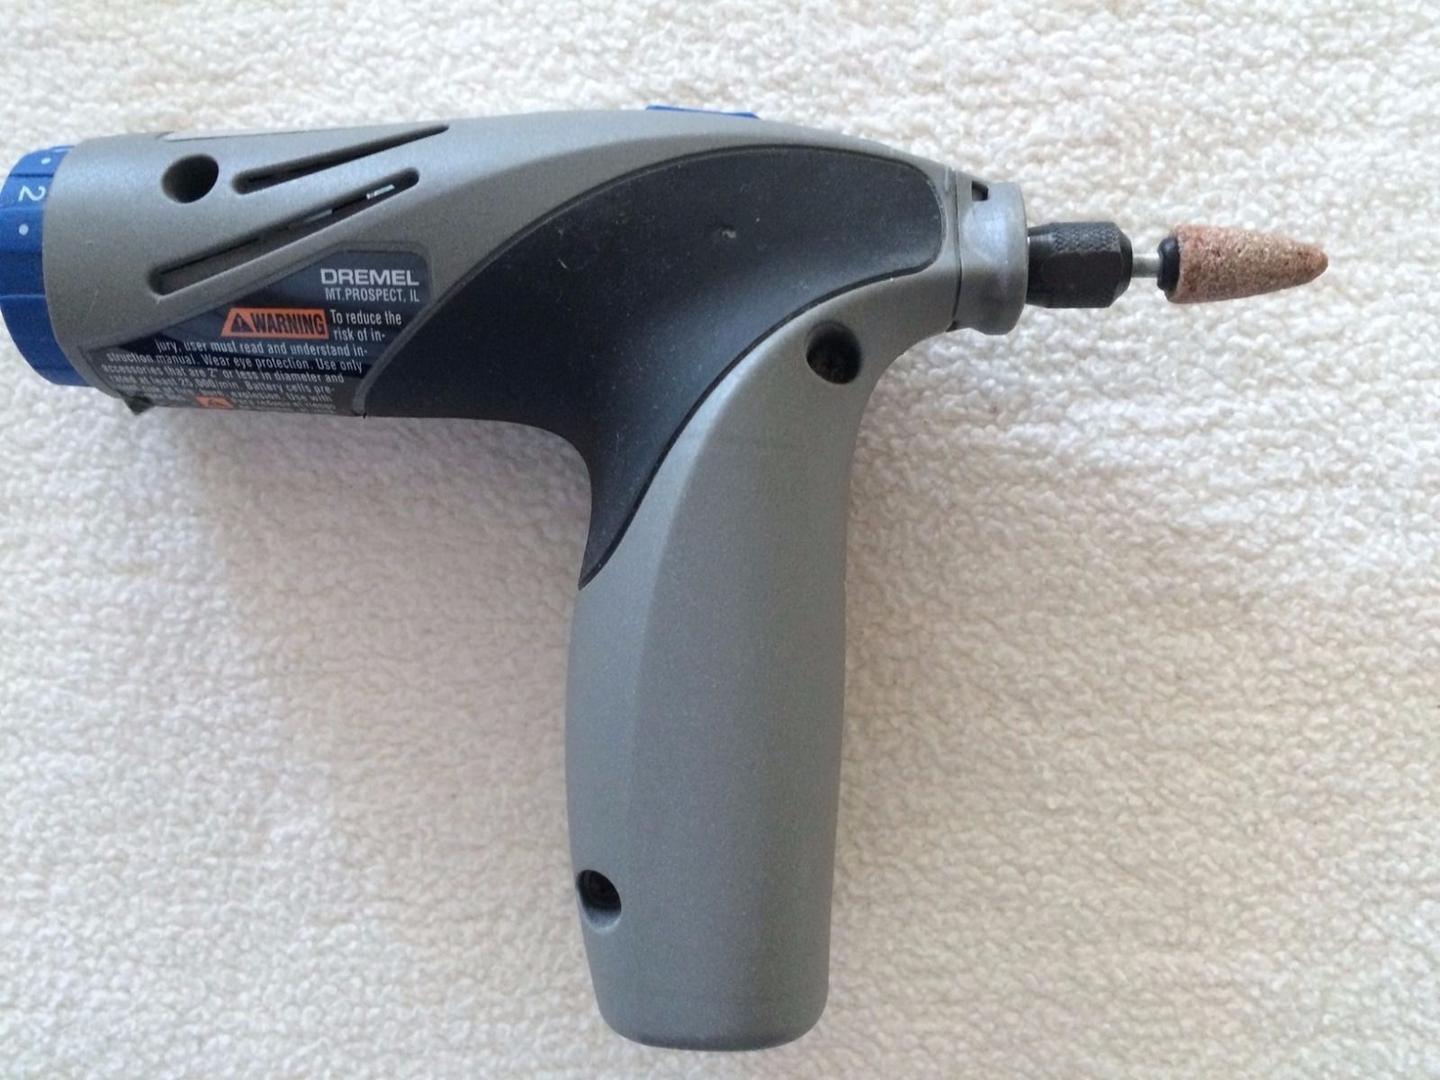
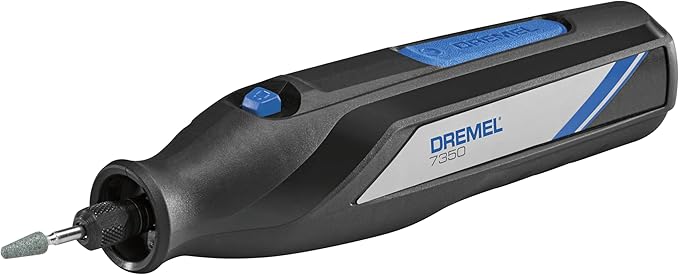
Dremel 866 7350 I love my Dremel. I use it in ways I had no idea I would use it! I have multiple sanding and buffing pieces for it. I also use it to cut away large pieces of flash. Particularly the older moulds that require cutting the sprue from the model which due to the thickness can't just be bent off. The dremel I use is a cordless one. It is also one of the smaller models. This is intentional so that it is easier to hold while using. The first image is of the 866 which is what I have. However it has been discontinued and it looks like the 7350 is the closest match.
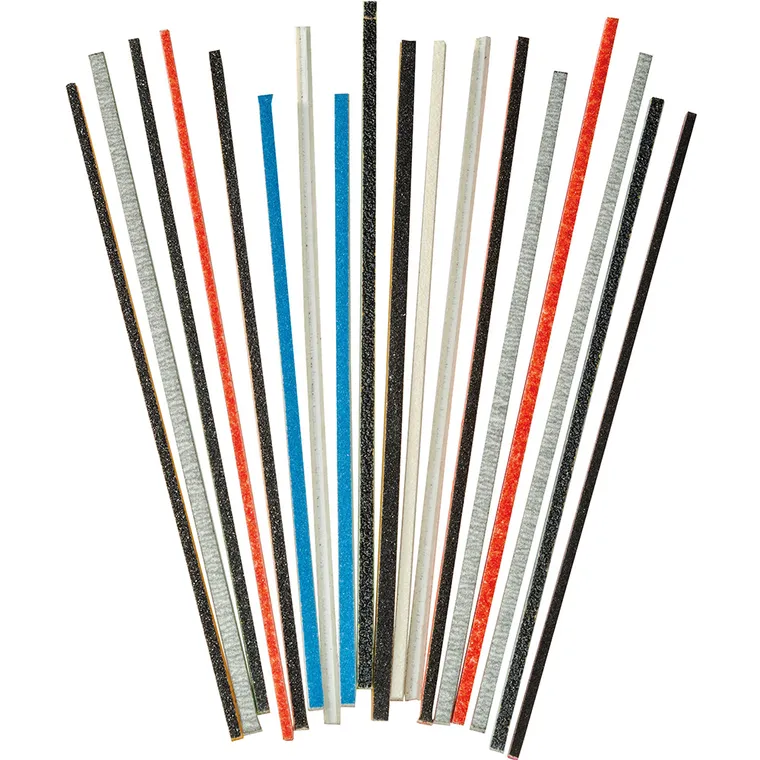
Sanding Sticks Image For several years I used metal files to remove flash and clean up model seams and imprefections. This works fine to a point. Eventually the files become clogged with metal and then you need to clean them, typically by heating them up and melting the metal off. Definitely doable but a real pain. THEN I found sanding sticks and have been using them almost exclusively ever since. There are many different grades with the different colors representing a different fineness.
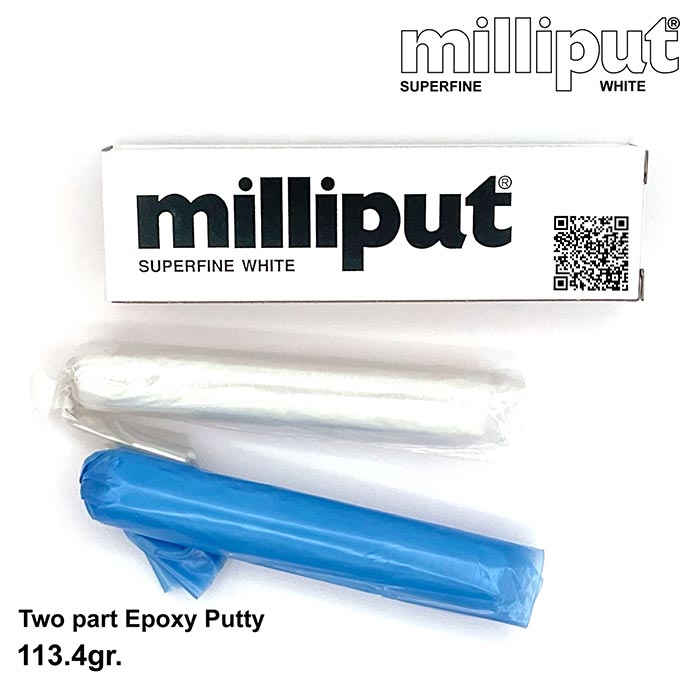
Milliput Superfine White Image This is a two part epoxy putty from England. I use it for gap-filling, patching missing areas and you can even use it to create flags and caprisons (though I use sheet lead for caprisons). Once it hardens it cn be sanded smooth using the same sanding sticks you use on the metal. It comes in a 4 oz package.
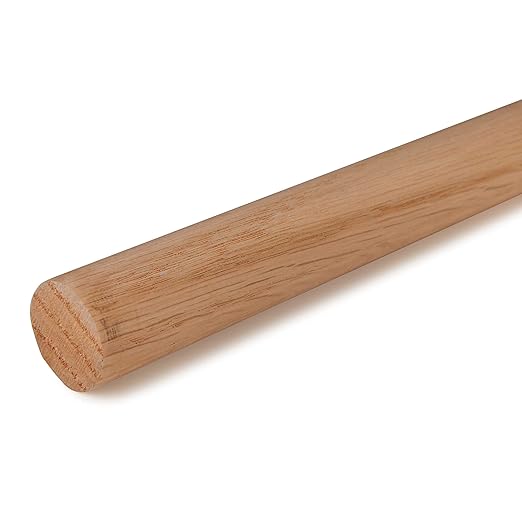
Model Stand Image When painting your model having it mounted so that you don't have to handle the actual model itself is a requirement. There are several ways to do this, however the easiest way i have found is to simply hot glue it to a piece of dowel. I use 1" thick dowel about 1 1/2" long. You can certainly use a thicker dowel but you don't want it to be too tall as it will be top heavy and fall over! If you are painting a model that is wider or top heave yiou can always hot glue the model to a piece of trim about 1/4" thick by 2" wide and 3-4" long.
Brass Rods Sometimes the model you are about to paint will not "stay" on the dowel. An example of this would be riders on a horse. In this case I typically drill a hole in the underside of the riders seat and glue a brass rod/pin. I then drill a hole in the model stand (fancy term for dowel) and glue that end into the dowel. The pin does not need to be any taller than required to be able to have the bottom of the model clear the dowel so that you can pint the underside. Cleaver 'eh ?
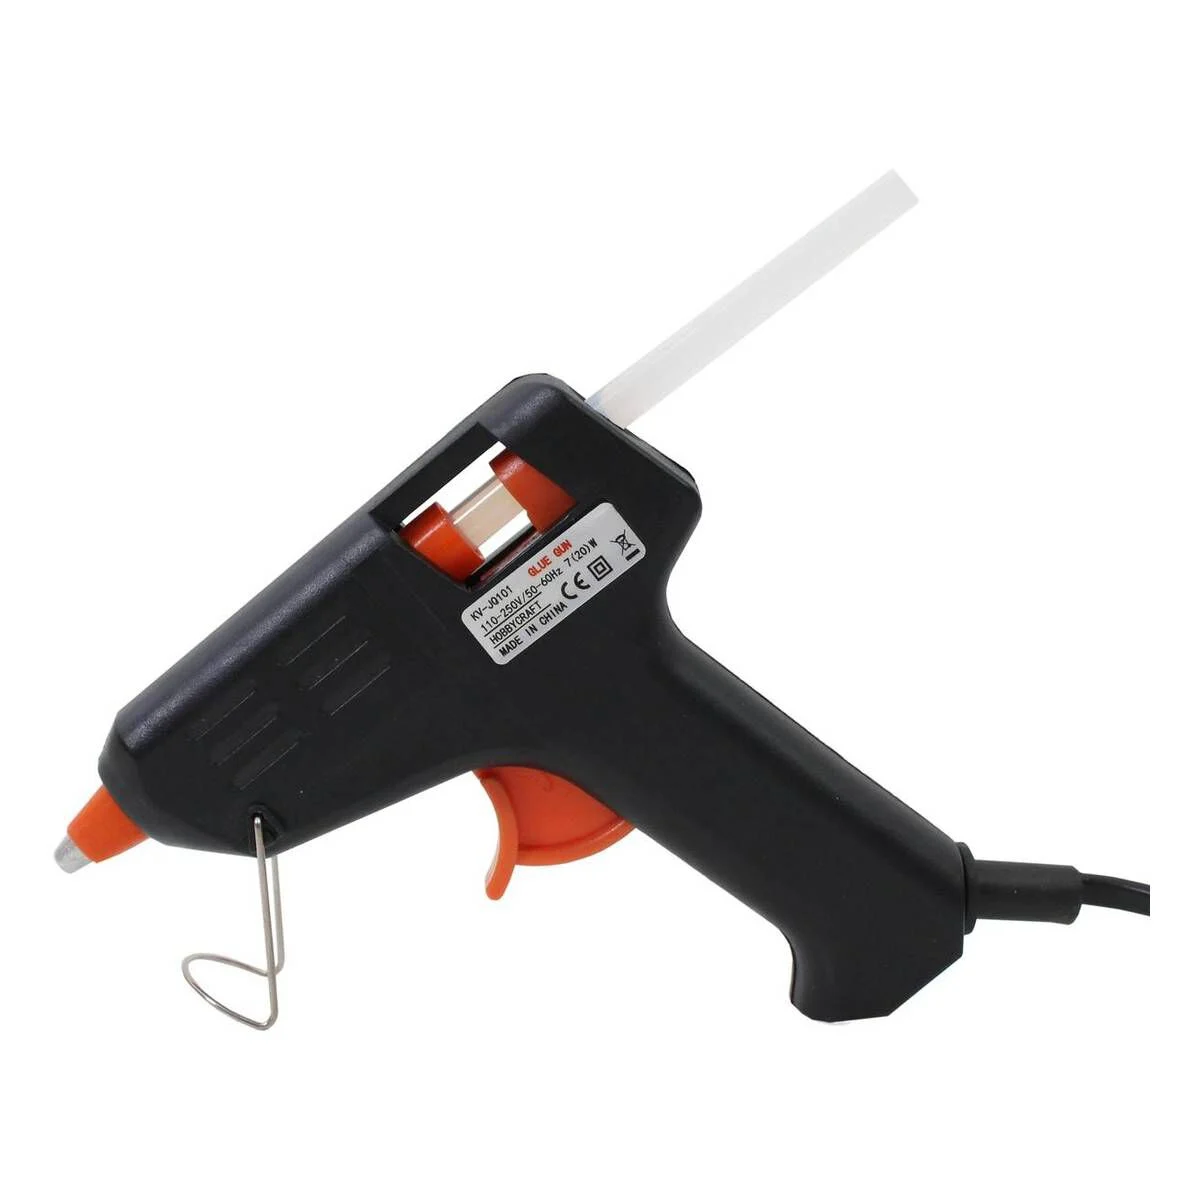
Hot Glue Gun Image The glue gun is to adhere the model to the wood dowel while you are painting it. Since it is really hard to paint a model while you are holding it, glueing to to a piece of dowel is a no brainer. I use a glue gun that uses the mini glue sticks, though any type of glue gun will work really. Note that you do NOT need super strong glue, any generic glue will do.
Comments